How do i connect with Netgear EX6120 Setup
Netgear EX6120 Setup made easy! Our uniquely designed guide walks you through the entire process. Be triumphant today with your network setup.This is the guidance for you if you are unable to proceed with the process as well. Here, we have discussed not one, not two, but three distinct ways of achieving the Netgear EX6120 installation. So put it off and carry on reading.
Just so you know, you don’t have to try each setup technique available for your networking gear. Following your reading of this guide, you can put into practice whichever you believe will be the simplest to follow.
Netgear EX6120 Setup | Manual Method

If your device is a Mac, you can reach mywifiext local setup; if you are using Windows, use mywifiext net login.
- Turn on the Netgear EX6120 extender to start the setup process.
- Create a reliable connection between the networking devices after that.
- Turn on your laptop or computer.
- On it, launch an internet browser such as Apple Safari, Google Chrome, or another one.
- Enter mywifiext.net or mywifiext.local in the URL field.
- Hit the Enter key.
- The login page for the Netgear EX6120 extender will show up in a flash.
- Enter the admin login credentials that are defaulted into each field.
- Click “Log In.”
- It will show the Netgear Genie smart setup wizard.
- Follow the on-screen instructions.
Observe the instructions in exactly the order that they have been presented. This is true even if you’re setting up a Netgear AC1200 wifi range extender.
Note: If you need any assistance regarding your Netgear wifi extender, get in touch with us via the chat button you see on the bottom right corner of this page.
Netgear EX6120 Extender Setup | WPS Method
Make sure the host router is WPS-enabled before learning how to install the Netgear EX6120 wireless range extender using the WPS method.
- Connect the Netgear EX6120 extender to a functional wall plug.
- Hit the power button.
- Hold off for a while.
- The LED will turn green soon.
- Look for the EX6120 extender’s WPS button.
- Once it’s located, press it.
- On the router, follow the same procedure.
- Hold on for a brief while.
- It is now necessary for you to move the EX6120.
Make sure that the Netgear EX6120 extender is not placed in close proximity to any electrical equipment, appliances that transmit signals, metal items, or surfaces that reflect light.
Netgear EX6120 wifi range extender setup | Nighthawk App
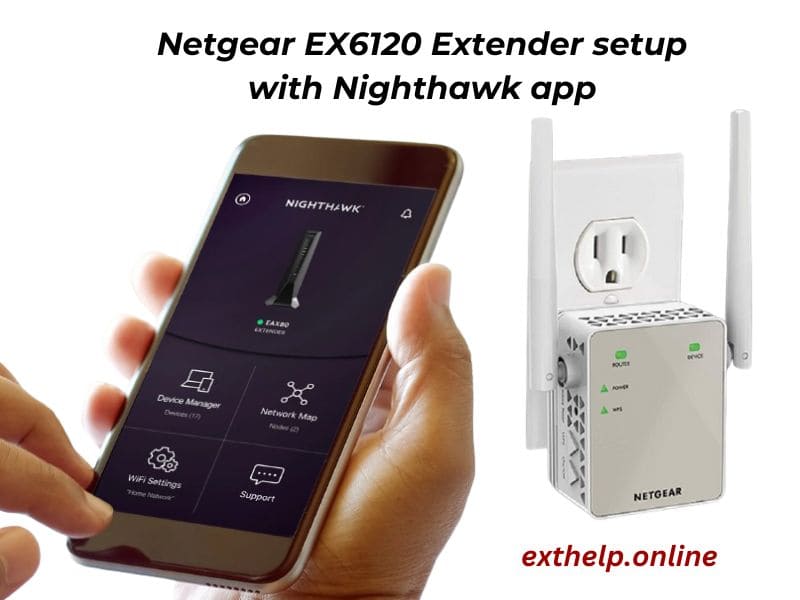
To download the Nighthawk app on an Android smartphone, visit the Play Store; for an iOS device, it is advised to use the App Store.
- Get your phone unlocked.
- Please download the app now if you haven’t already.
- Open the Nighthawk app after it has been installed.
- Make an account on Netgear by providing your personal information.
- Log in to your Netgear EX6120 extender.
- The username and default password can be used for that.
- It will display the BASIC Home screen.
- Go over the instructions that are displayed on the screen.
Even if following these instructions will make Netgear EX6120 setup simple for you, if you still find it difficult, get in touch with our professionals.
Should you be among those users who would want to handle the issue independently, please consult the troubleshooting procedures outlined in the next part.
How to Troubleshoot Netgear EX6120 Installation Issues?
Check the power supply
The main source of problems experienced by users when attempting to configure a Netgear EX6120 wireless range extender is that the gadget is not receiving enough power from its wall connection. You must put your networking device into a different power socket if there’s a chance that the Netgear EX6120 setup won’t work for the same reason.
Switch out the Ethernet cable
It is expected that the Ethernet cable you used to connect the Netgear EX6120 wireless range extender is undamaged. However, it appears that you failed to address this issue before beginning the EX6120 setup procedure. Try connecting the networking devices with a fresh Ethernet wire to correct your error. You will be able to turn on your gadget at some point.
Use the Correct Login Details
To setup the Netgear EX6120 extender, use just the correct login credentials. The credentials are listed on the label at the bottom of the device, but if you can’t find them there, check the handbook you may have received when you bought the device. In the URL area, type either mywifiext.local login or mywifiext net setup.
Even though you should be able to complete the Netgear EX6120 setup with simplicity after using these troubleshooting tips, in the unlikely event that luck is still not on your side, think about contacting our technical specialists. They will undoubtedly be able to assist you in setting your Netgear EX6120 extender in a carefree way.
Would you rather not repeat that? Thus, it is recommended to set up the Netgear EX6120 wireless range extender with the default IP address, which is 192.168.1.250.