NETGEAR WIFI EXTENDER SETUP
The Netgear WIFI Extender Setup is the answer to your home’s internet problems. A system called a Wi-Fi Range Extender is in charge of extending the Internet signal to areas of the home where it would not typically go. Installing a Netgear Range Extender utilising www.mywifiext.net setup can fix the “no internet signal” problem, but you must first understand how to complete the Netgear WIFI Extender Setup in order for it to function.

How to set up Netgear wifi Range extender setup?
Here’s a very brief step guide for Netgear WiFi extender installation:
- Plug In Extender: Connect your Netgear WiFi extender to a power source and wait for the power LED to turn solid.
- Place Extender: Position the extender within the range of your existing WiFi network. Avoid obstacles for optimal signal strength.
- Connect to Extender: Use a WiFi-enabled device to connect to the Netgear_ext network (default SSID) in your device’s WiFi settings.
- Open Web Browser: Launch a web browser on the connected device and enter “http://mywifiext.net/” in the address bar.
- Login: Enter the default username and password (admin and password, respectively) to access the Netgear extender setup wizard.
- Choose Network: Select your existing WiFi network from the list and enter its password. Follow the on-screen instructions to complete the setup.
- Complete Setup: Once configured, wait for the extender to establish a connection. The LED indicators will confirm a successful setup.
- Note: Make sure to change the default login credentials and SSID/password for security reasons after the initial setup.

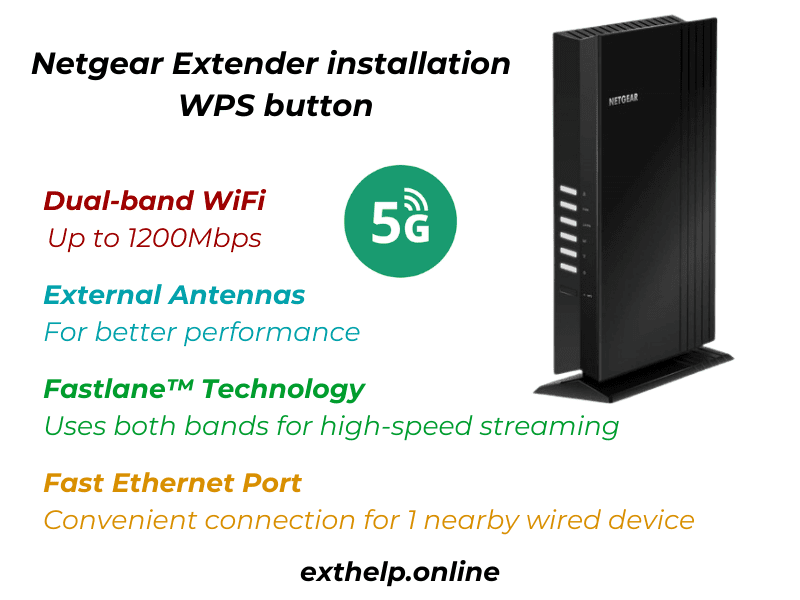
Netgear wifi extender installation via wps button
Here’s a quick step instruction on installing a Netgear extender using the WPS button:
- Turn On Extender: Insert the plug and turn on the Netgear WiFi extender.
- The WPS button is located on your extender and usually says “WPS.”
- WPS Extender Button Press: Press the WPS button on the extender and watch for the blinking of the WPS LED.
- Press WPS on Router: Give your WiFi router’s WPS button a press within two minutes.
- A successful connection will be indicated by the WPS LEDs on the router and extender becoming solid. This is the signal to wait for connection. It is now possible to utilise and set up the extender.
Note: If you need any assistance regarding your Netgear wifi extender, get in touch with us via the chat button you see on the bottom right corner of this page.

Netgear Extender Setup Firmware Update
Does your WiFi extender suddenly start acting strangely? Does the Netgear EX6100 WiFi range extender fail to deliver the necessary speed even after a good setup? If so, the Netgear Extender Setup should automatically upgrade its firmware. Integrated hardware device instructions make up the Netgear Extender Firmware. In layman’s terms, Netgear extender firmware update is essentially an operating system designed specifically to run on the specific make and model number of the extender. Make sure the new firmware update is installed on your extender. The Netgear EX6100 firmware can be updated in the following ways:
- First and foremost, activate your Netgear WiFi extender setup.
- Connect a computer, laptop, or mobile device to the extender’s network.
- When finished, launch a web browser in the manner of your choice.
- In the Address Bar, type mywifiext.net and press the Enter key.
- To access your Extender, log in with your username and password.
- Select the Firmware Update option from the configuration menu.
- After that, click the Review button.
- Clicking Yes will update the firmware if any newer versions are available.
- Now, let the Netgear EX6100 Setup some time to properly update the firmware.
Your extender’s firmware has been updated. If you run into any problems, please don’t hesitate to contact the professionals.