Netgear WN3000RP Setup
The Netgear WN3000RP Setup is a compact and affordable WiFi range extender designed to enhance the coverage of your wireless network. With its easy plug-and-play setup, this device effectively eliminates WiFi dead zones, allowing you to enjoy a strong and stable internet connection throughout your home. The WN3000RP supports both 2.4GHz and 5GHz WiFi bands, making it compatible with a variety of devices and ensuring reliable connections. Its external antennas improve signal strength, while the convenient wall-plug design allows for discreet placement. Whether you’re streaming, gaming, or working from home, the Netgear WN3000RP is a valuable addition to extend your WiFi network and improve your online experience.
How can i install Netgear WN3000RP Wifi Range Extender?
Follow the following instructions to install a Netgear WN3000RP WiFi Range Extender:
- Connect the Netgear WN3000RP extender to an electrical socket close to your current WiFi router.
- Watch for the extender’s Power LED to turn solid green.
- Connect the WiFi network (often called “NETGEAR_EXT”) on the extender with your PC or mobile device.
- Open a web browser, and in the address box type “www.mywifiext.net login“.
- To configure your extender, follow the on-screen instructions. Creating an account or logging into an existing one might be required.
- Enter the network password and choose your current WiFi network.
- Wait for the WN3000RP extender to join your WiFi network, then move it to a spot where it can improve WiFi coverage successfully once it has.
Note: If you need any assistance regarding your Netgear wifi extender, get in touch with us via the chat button you see on the bottom right corner of this page.
Netgear WN3000RP Extender Setup : Manual method
Follow these simple steps to the Netgear WN3000RP Extender Setup via manual method:
- Wait for the extender to turn on after plugging it in close to your router.
- Join your device to the WiFi network of the extender, which is typically “NETGEAR_EXT”.
- Open a web browser, and in the address box type “mywifiext login setup page” or 192.168.1.250.
- To finish the setup and connect the extender to your current WiFi network, follow the on-screen instructions.
- Your Netgear WN3000RP Extender is prepared to increase the range of your WiFi after its setup is complete.

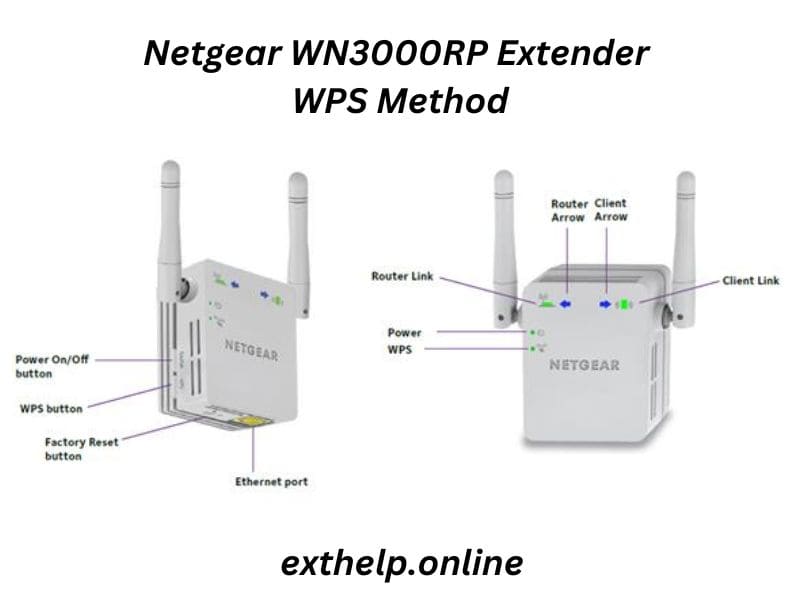
How do I setup Netgear WN3000RP with the wps button?
Use the WPS button to the Netgear WN3000RP setup by doing the following steps:
- Wait for the WN3000RP extender to turn on after plugging it in.
- On your extender, find the WPS button.
- The extender’s WPS button should be pressed.
- Press your router’s WPS button within two minutes.
- Upon successful connection, the WPS LED on the extension will turn solid green.
- The WPS button approach has been used to configure your Netgear WN3000RP extender, which will now extend your WiFi network.
This completes the WPS-based Netgear WiFi extender Setup. If you can’t locate the WPS button on your primary WiFi network, think about logging in and going to the settings page. To complete the WPS setup, find the WPS option there and click it.
Receive professional setup assistance for your Netgear devices, exclusively provided by exthelp.online.
How do I login to the WN3000RP wifi extender?
To log in to the Netgear WN3000RP WiFi extender, follow these steps:
- Ensure that your extender is powered on and connected to your WiFi network.
- Connect your computer or mobile device to the extender’s WiFi network. The default network name (SSID) typically includes “NETGEAR_EXT.”
- Open a web browser on your connected device.
- In the web browser’s address bar, type the following address: mywifiext net and press “Enter.”
- You will be prompted to enter a username and password. The default credentials are often:
Username: admin
Password: password
- If these default credentials don’t work (or if you’ve changed them), use the username and password you’ve set for the extender.
After entering the correct username and password, you will access the Netgear WN3000RP extender’s configuration page. From there, you can manage and adjust various settings for the extender.
Firmware update for Netgear WN3000RP

Follow these only easy steps to upgrade your Netgear WN3000RP extender’s firmware:
- Access the WiFi network provided by the extender with your PC or mobile device.
- In the address bar of a web browser that is open, type “mywifiext”.
- Use your extender’s login and password to log in.
- Select “Software Update” or “Firmware Update” from the menu.
- Check for firmware updates that are available.
- To download and install the most recent firmware, follow the on-screen instructions.
Your Netgear WN3000RP extender will be using the most latest firmware following the update, which will improve performance and security.
Reset procedure for Netgear WN3000RP extender
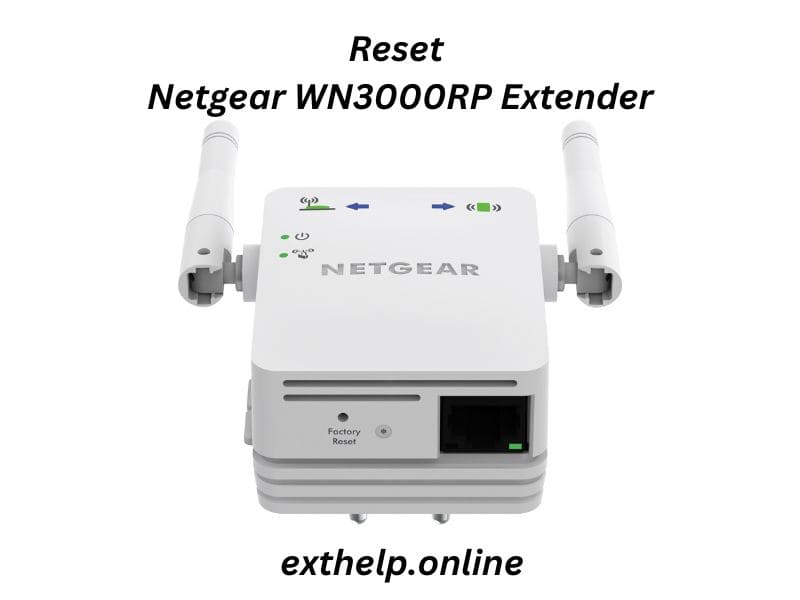
To reset your Netgear WN3000RP extender to its factory settings, follow these steps:
- Plug in the extender and wait for it to power up.
- Locate the reset button on the extender. It’s usually a small hole labelled “Reset.”
- Using a paperclip or a similar tool, press and hold the reset button for at least 10 seconds.
- Release the reset button when the Power LED on the extender blinks.
- The extender will reset to its default factory settings. This process may take a few minutes.
- Once the reset is complete, you can reconfigure the extender from scratch, following the initial setup instructions provided in the user manual or setup guide.