Netgear EAX12 Setup | Netgear AX1600 extender setup
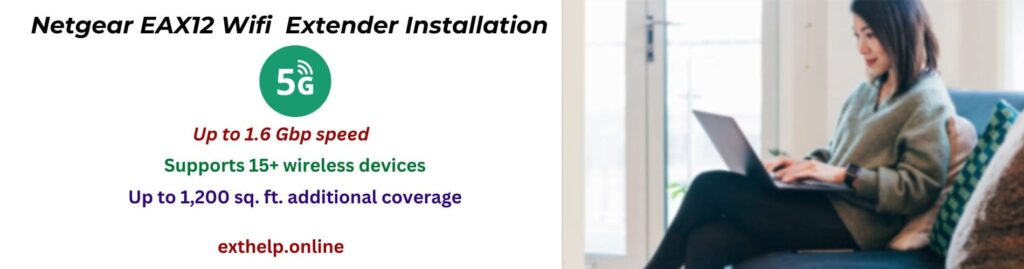
The Netgear EAX12 WiFi Extender is a compact and powerful device designed to enhance and extend your existing WiFi coverage. With advanced technology, the Netgear EAX12 Setup delivers fast and reliable WiFi signals, eliminating dead zones and providing a seamless connectivity experience throughout your home or office. Its simple setup process and compatibility with various routers make it a user-friendly solution for improving network performance and ensuring a stable connection for all your devices. The EAX12 is equipped with features like beamforming and MU-MIMO technology, contributing to enhanced speed and efficiency in wireless communication.

How Do I Connect with Netgear EAX12 Extender?
The Netgear EAX12 extender Setup using manual method the following easy and quick steps:
- Plug it into a power outlet and wait for the LED lights to stabilise.
- Use a WiFi-enabled device to connect to the default network named “NETGEAR_EXT.” Enter the default password provided in the extender’s manual.
- Open a web browser on the connected device and enter “mywifiext.net setup” in the address bar. Press Enter to access the Netgear EAX12 setup page.
- Follow the on-screen instructions to create a Netgear account. If you already have one, log in using your credentials.
- Select your existing WiFi network from the available list and enter the network password when prompted. Click “Next” to proceed.
- Wait for the extender to apply the settings and establish a connection with your router. Once the setup is complete, you can relocate the extender to an ideal location for extended WiFi coverage.
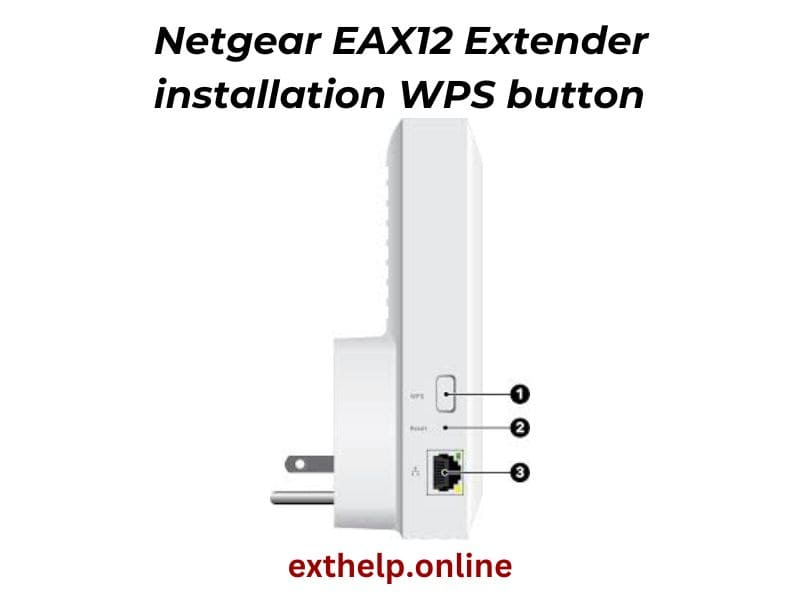
Netgear EAX12 wifi extender setup via wps button
To use the WPS button to set up the Netgear EAX12 extender, simply follow these simple instructions:
- Make sure the EAX12 extender is turned on and connected.
- Press the WPS button on the extension to turn on WPS.
- To start using WPS, press the router’s WPS button for the next two minutes.
- When the extension’s WPS LED becomes solid, the connection is complete.
- If needed, move the Wi-Fi signal extender inside its coverage area to a better place.
- Check that your devices are able to create a connection with the new WiFi network.
- After pressing the WPS button, the Netgear EAX12 extender should be configured properly at this point.
Don’t Let WiFi Troubles Slow You Down. Chat With Our Live Agents For Quick Help
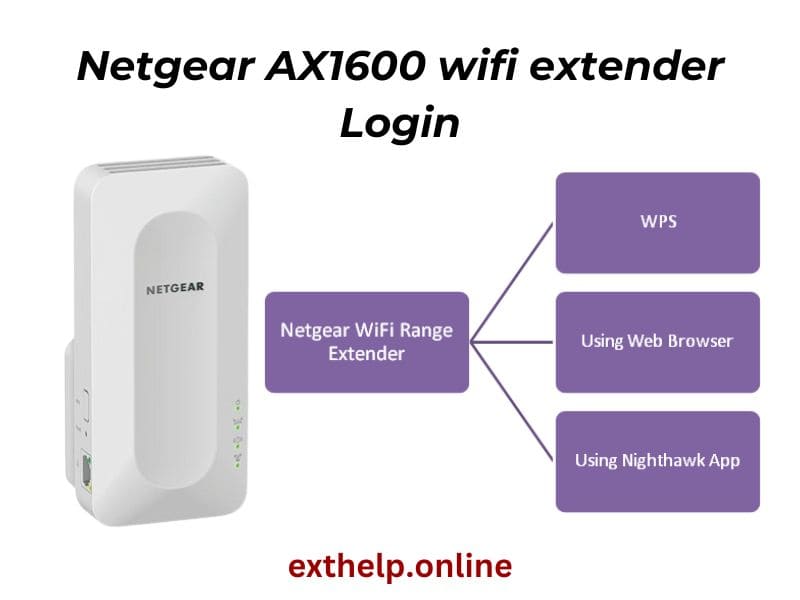
How to login Netgear AX1600 wifi extender?
You may log into your Netgear AX1600 extender by using the quick and simple steps listed below:
- Plug in the Netgear AX1600 extender after syncing your device to its Wi-Fi network.
- Open the browser Start the web browser on the connecting device.
- Fill in the address: Enter “www.mywifiext.net login” in the browser’s url bar and then hit Enter.
- Page of Access The login page will now show up. Give details about your login.
- Use the Netgear extender login credentials that you created or modified.
- Login: Choose “Login” to access the extender settings and make any changes that are needed.
Firmware update for Netgear EAX12 extender
- On an attached device, launch a web browser and type “mywifiext net setup into the address box. To access the web interface of the Netgear EAX12 extender, press Enter.
- Enter your admin credentials to access the web interface. If you haven’t lately, establish an account by following the instructions provided on the page.
- To locate the firmware update option, go to the “Settings” or The term “administration” area. Ensure that the Netgear EAX12 extender is running the most recent firmware version.
- Download the latest firmware version from the Netgear support page if one is available. On your PC, save the firmware file.
- To upload the downloaded firmware file, locate the firmware update area in the extender’s web interface and select the option. Start the update procedure by following the on-screen instructions.
- Give the firmware upgrade procedure time to finish. During this procedure, the extender can reboot. After that, confirm via the web interface that the firmware version has been upgraded to the most recent version.
To avoid any possible problems, make sure your internet connection is steady and don’t stop the update process.